
For move-out, photograph the apartment after your belongings are removed and final cleaning is finished, while you still have authorized access. Take wide views of each room, then record visible floors, walls, doors, windows, storage, kitchen surfaces, supplied appliances and bathroom fixtures. Match useful move-in angles where possible. Keep final photos, cleaning or repair records, and the actual key-return acknowledgment as separate parts of the record.
A move-out photo checklist is most useful when it closes the tenancy's timeline. The task is to show what was visible when you left, connect it to earlier records and preserve what happened at handoff. A beautiful image of an empty room does not explain an earlier maintenance issue or prove that keys were received.
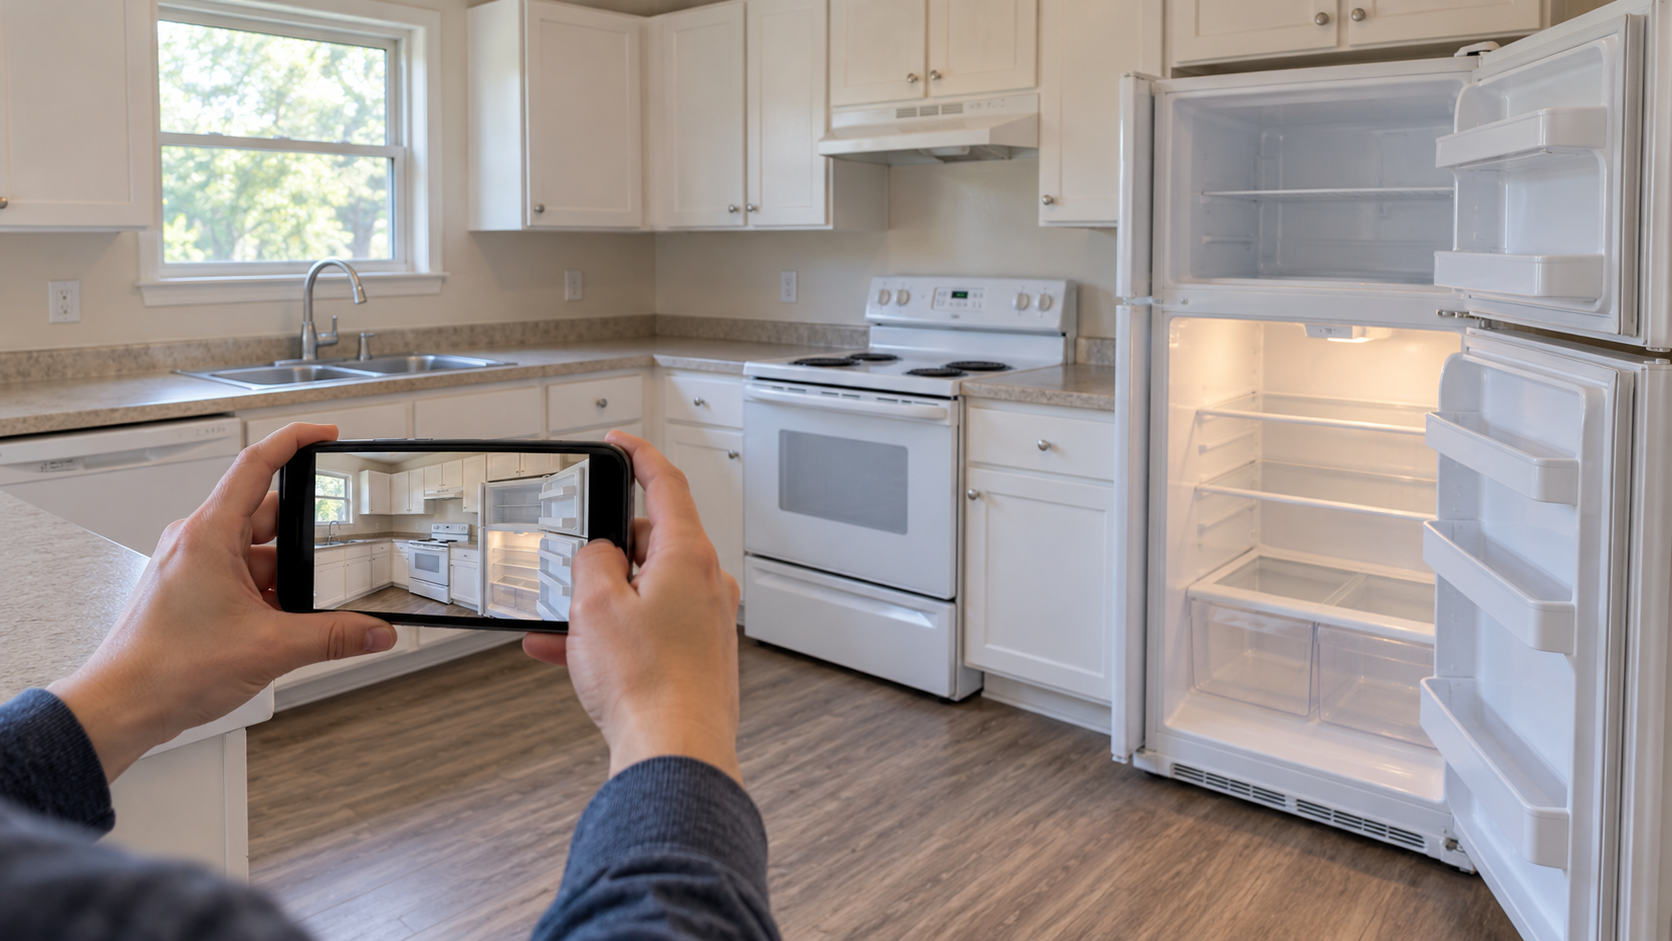
Prepare before your last access window
Read your lease and move-out instructions while there is still time to arrange the required steps. Identify the notice process, any available inspection, cleaning instructions, access-item return and how to provide forwarding information. Check applicable local resources if you are unsure which procedure applies.
Plan the final photography session around the actual move. If a cleaner will attend after you leave, your earlier photos cannot describe the later cleaned condition. Arrange the sequence while you still have authorized access, or state clearly which stage your images show.
Retrieve your move-in photos, condition form and important repair records before packing your files away. Make a short list of previously recorded spots so you can revisit them. The University of Vermont's condition checklist shows move-in and move-out entries beside one another, illustrating why keeping the same inventory is useful.
| Stage | Action | Save separately |
|---|---|---|
| Before final day | Find earlier photos; check instructions and inspection arrangements | Actual notices and appointment messages |
| After removal and cleaning | Photograph final visible condition in each accessible room | Original photos and observation notes |
| At handoff | Follow the agreed return process for access items | Receipt or acknowledgment actually received |
| After departure | Keep later correspondence with the tenancy archive | Inspection documents, charges, replies and relevant receipts |
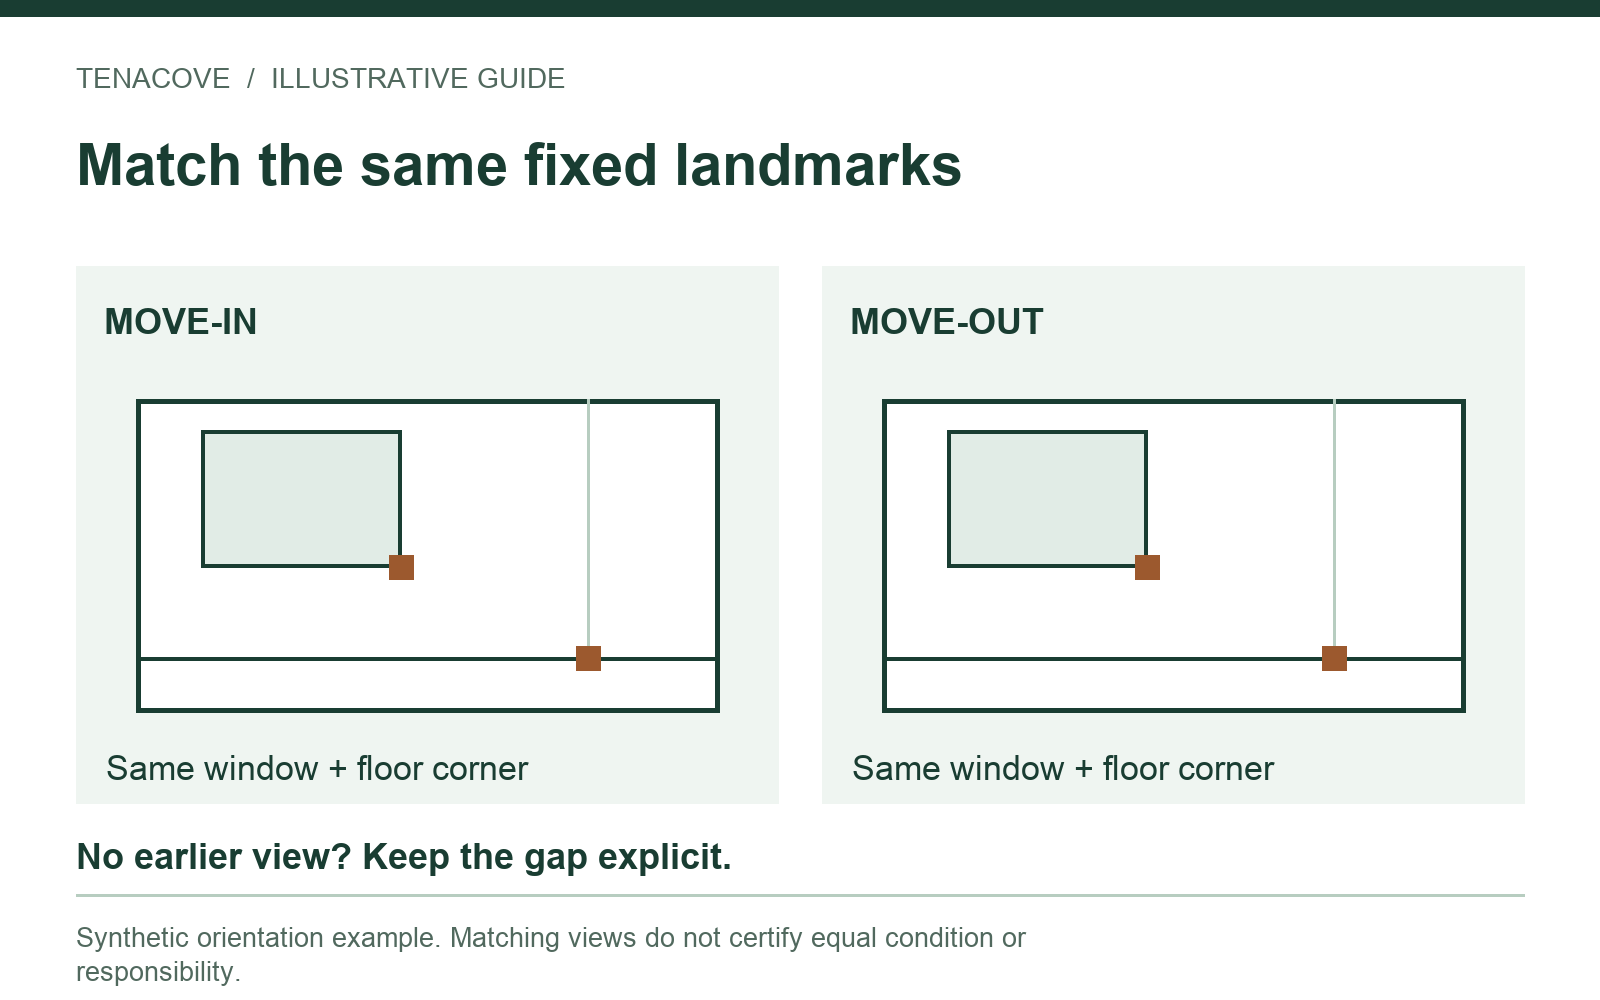
Match the place, not just the room name
Open the earlier image before taking the later one. Stand in roughly the same position and include a recognizable fixed feature: the doorway, window, sink or cabinet corner. Retain the original room and spot label so an old floor mark does not become disconnected from its new view.
Take a wide view for orientation, a context view when location needs explaining, and a close-up when detail matters. Avoid filling the set with isolated marks. If the earlier photo only covers half a wall, a later wide photo can add coverage, but it cannot create an earlier record for the missing half.
Lighting, camera angle and an object blocking the frame can affect how a surface looks. Note a relevant difference rather than assuming every visual change is a physical change. A matched pair supports comparison; it does not by itself identify cause or decide who owes a charge.
Watch on YouTube ↗
Photograph the final condition room by room
Use a consistent route after removal and cleaning. Do not enter restricted areas, move another person's belongings without permission, pull out heavy appliances or dismantle equipment to complete a checklist. This is a documentation route, not a technical inspection.
Entry, living spaces and bedrooms
Begin from the doorway, showing the room's layout and visible floor. Take additional views where one angle misses a wall or floor section. Include corners, baseboards, window areas, door frames and the places previously hidden by rugs, beds or sofas.
Photograph closets and storage with the doors open where safe, including accessible shelves and flooring. If you are leaving supplied furniture in place, show its visible condition and note what it blocks. “Floor behind supplied wardrobe not visible” is more informative than implying the whole floor was checked.
Revisit earlier marks as well as newly visible ones. Keep relevant unfavorable observations too. A final record should explain the visible condition, not selectively display only the best surfaces.
Kitchen and supplied appliances
Take a kitchen overview, then capture counters, the sink, cabinet fronts, accessible cabinet and drawer interiors, and the floor. Open empty storage so a reviewer can understand what was left inside. Include a closer view for residue, a chip or another remaining observation.
When safe, photograph supplied refrigerator shelves, oven racks and other visible appliance interiors after cleaning. Do not run hazardous equipment or reach behind it for a picture. Note inaccessible areas without guessing their condition.
Record appearance rather than a verdict. “Oven rack present; brown mark remains on lower interior surface” describes more than “oven perfect.” If you used a cleaning service, the invoice and the final photo answer different questions: what service was purchased and what was visible afterward.
Bathroom and any included laundry area
Capture the bathroom layout, sink and vanity, tub or shower, toilet exterior, accessible storage, tile and visible floor edges. Use light that shows detail without overwhelming glare. Add context to any close-up of a fixture or mark.
For an included laundry area, show visible surrounding surfaces and supplied equipment without moving machinery or removing covers. Describe a visible stain as a visible stain. A photograph alone does not diagnose moisture, mold, the age of a mark or the party responsible.
Assigned areas and shared apartments
Include authorized storage, patios or other areas assigned to your tenancy when relevant. Do not expand the record to neighboring property. Keep other people's personal details, documents, faces and access information out of images you might share.
If roommates remain, take photos of the areas you can access at your departure and identify what is still occupied. Your empty bedroom does not describe the shared kitchen a month later. The record's scope should match the actual stage you observed.
| Area | Include | Check for a missing view |
|---|---|---|
| Entry and living areas | Doorway view, floor, walls, door and window areas | Surfaces revealed after furniture removal |
| Bedrooms and closets | Room view, storage interiors, visible fixtures | Areas still obscured by supplied furniture |
| Kitchen | Counters, sink, storage and safe appliance interiors | A close-up without its fixture context |
| Bathroom and laundry | Fixtures, accessible storage, visible edges | Details lost in glare or shadow |
| Assigned extras | Accessible included spaces and remaining supplied items | Occupied or inaccessible areas needing a note |
Worked example: a counter mark across the tenancy
This is a synthetic example, not a customer case. Your move-in record includes a chip on the front edge of the kitchen counter beside the sink. During the lease you also reported a separate issue with the cabinet below. At move-out, do not collapse those into a single claim that “everything is unchanged.”
- Keep the original counter photos and their original notes.
- Retake the sink-counter context and detail after cleaning, using the same spot label.
- Write what is visible now: “Chip visible on front edge beside sink in final walkthrough.”
- For the cabinet issue, retain the actual repair request and response separately, and add the final visible cabinet condition.
- If one earlier surface was never photographed, label that baseline as unavailable.
The counter comparison describes two observations of a spot. The cabinet timeline connects a different observation to a request. Neither sequence establishes who caused a condition or whether a later charge is lawful.
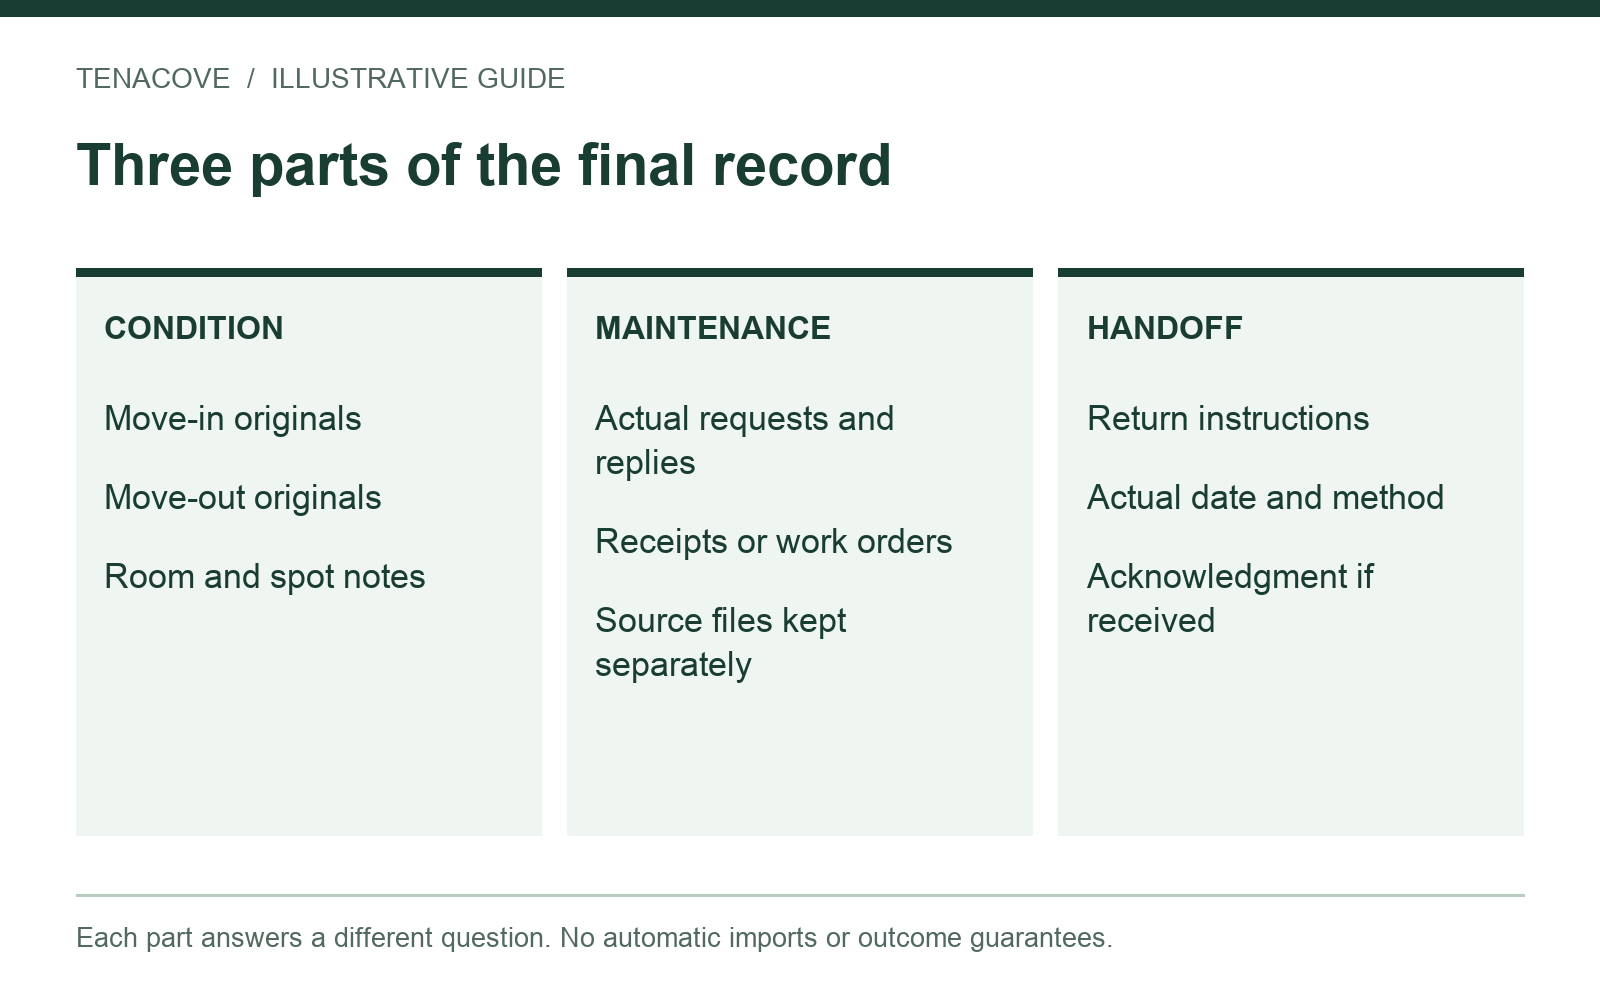
Keep cleaning and repair records factual
Save any relevant original invoice, scope description or actual completion message beside your photos. If you cleaned the apartment yourself, note the date and areas you cleaned without inventing a professional receipt. Avoid turning a service booking into a claim that every surface was inspected afterward.
For a repair, connect the first observation, request reference, actual response and later visible condition. A closed work order is a separate fact from what you can observe at departure. If the issue still appears present, describe it. The maintenance record guide gives a structure for keeping that sequence readable.
Do not attempt repairs merely to make the photo look better. Follow the applicable instructions and obtain appropriate authorization or assistance. This guide does not prescribe a cleaning standard, classify ordinary wear or decide responsibility.
Document key return as its own event
Follow the return instructions for keys, fobs, remotes and other access items. Retain an acknowledgment, receipt, tracking record or portal confirmation if one is actually provided. Record the real method and date. Do not write that a manager accepted the apartment unless a source supports that statement.
A photo of keys on a counter shows where keys were photographed; it may not show that the correct person received them. Avoid images exposing codes or identifying key details. Once your authorized access ends, do not re-enter simply because you want one more photo.
Winthrop University's move-out guidance treats final-condition documentation and key-return instructions as separate tasks. Keep both visible in your own checklist. For location-specific rights or procedures, USAGov's tenant resources direct renters to state agencies and legal help.
Check the archive before you need to explain it
Keep your move-in and move-out originals, notes and submitted forms together, with meaningful stage labels. Preserve correspondence, leases, receipts and handoff documents in a separate supporting folder. Do not assume that mentioning an invoice in a photo note includes the actual invoice in the download.
If you use Tenacove, export and inspect the record rather than relying solely on access to the account. Follow the rental photo export guide: extract the whole ZIP, open the report and check several originals. Keep an independent backup. The current Beta does not ingest your original email thread or invoice PDFs.
Review privacy before sharing. An archive can contain apartment details and original metadata. Keep your unmodified private copy even if you prepare a separate redacted or annotated version for a particular recipient.
Move-out photo questions
What if I have no move-in photos?
Still document the final condition honestly. Keep any earlier form or actual correspondence, and mark the missing photo baseline. A current image cannot recreate the starting condition. Start with the no move-in photos workflow instead of backdating a record.
Should I photograph before or after cleaning?
The main final-condition set should describe the apartment after your cleaning is finished. Earlier images can add context when relevant, but label their stage. If something changes afterward, retain a separate later observation rather than silently reclassifying the earlier image.
Do photos guarantee a security-deposit refund?
No. Photos organize visible observations; they do not determine legal responsibility, satisfy every required procedure or guarantee an outcome. Use official local guidance or qualified assistance for a dispute or a deadline.
Should I also take a walkthrough video?
A video can add room orientation, while still photos allow individual spots to be labeled and compared. Keep any video separately; Tenacove's current Beta supports photos and notes rather than video storage. The written checklist remains usable without watching a video.
Finish with a readable final record
Check room coverage, reopen the important details and save the actual handoff record. If you want the same room and spot labels to connect your observations, see Tenacove's photo-record workflow. Use it to organize your materials, keep your own export and complete the required move-out process separately.